Winter Candles DIY: How to Make Minimalist, Cozy Candles at Home
Winter candles DIY projects are one of the easiest ways to make a home feel warmer and more intentional during the colder months. Soft lighting, subtle scents, and simple materials can completely shift the mood of a space without adding clutter.
High-end winter candles usually get this right with clean vessels and layered, understated fragrances. The problem is the price. The good news is that the same elevated look and feel is easy to recreate at home.
This winter candles DIY tutorial focuses on minimalist design, cozy winter scents, and a simple process that works even for beginners. The result is a candle that looks polished on a shelf, burns cleanly, and feels thoughtful rather than crafty.
Why DIY Candles Are Perfect for Winter
Making candles at home gives you complete control over the look, the scent, and the materials. You can skip overly sweet fragrances, choose clean-burning wax, and select vessels that actually fit your decor.
It’s also a project you can repeat all winter long. Candle making is very beginner-friendly, especially with soy wax, making it approachable even if this is your first DIY project. Once you have the basics, it becomes less about “making candles” and more about creating a small ritual. One evening, one batch, one new scent. It’s simple and grounding in the best way.
That’s what makes winter candles DIY projects so appealing. They combine comfort, creativity, and control in a way that fits naturally into the season.
This post may contain affiliate links, including Amazon affiliate links. As an Amazon Associate I earn from qualifying purchases at no extra cost to you.
The Cozy, Minimalist Candle Style
Think minimalist and timeless rather than decorative or trendy.
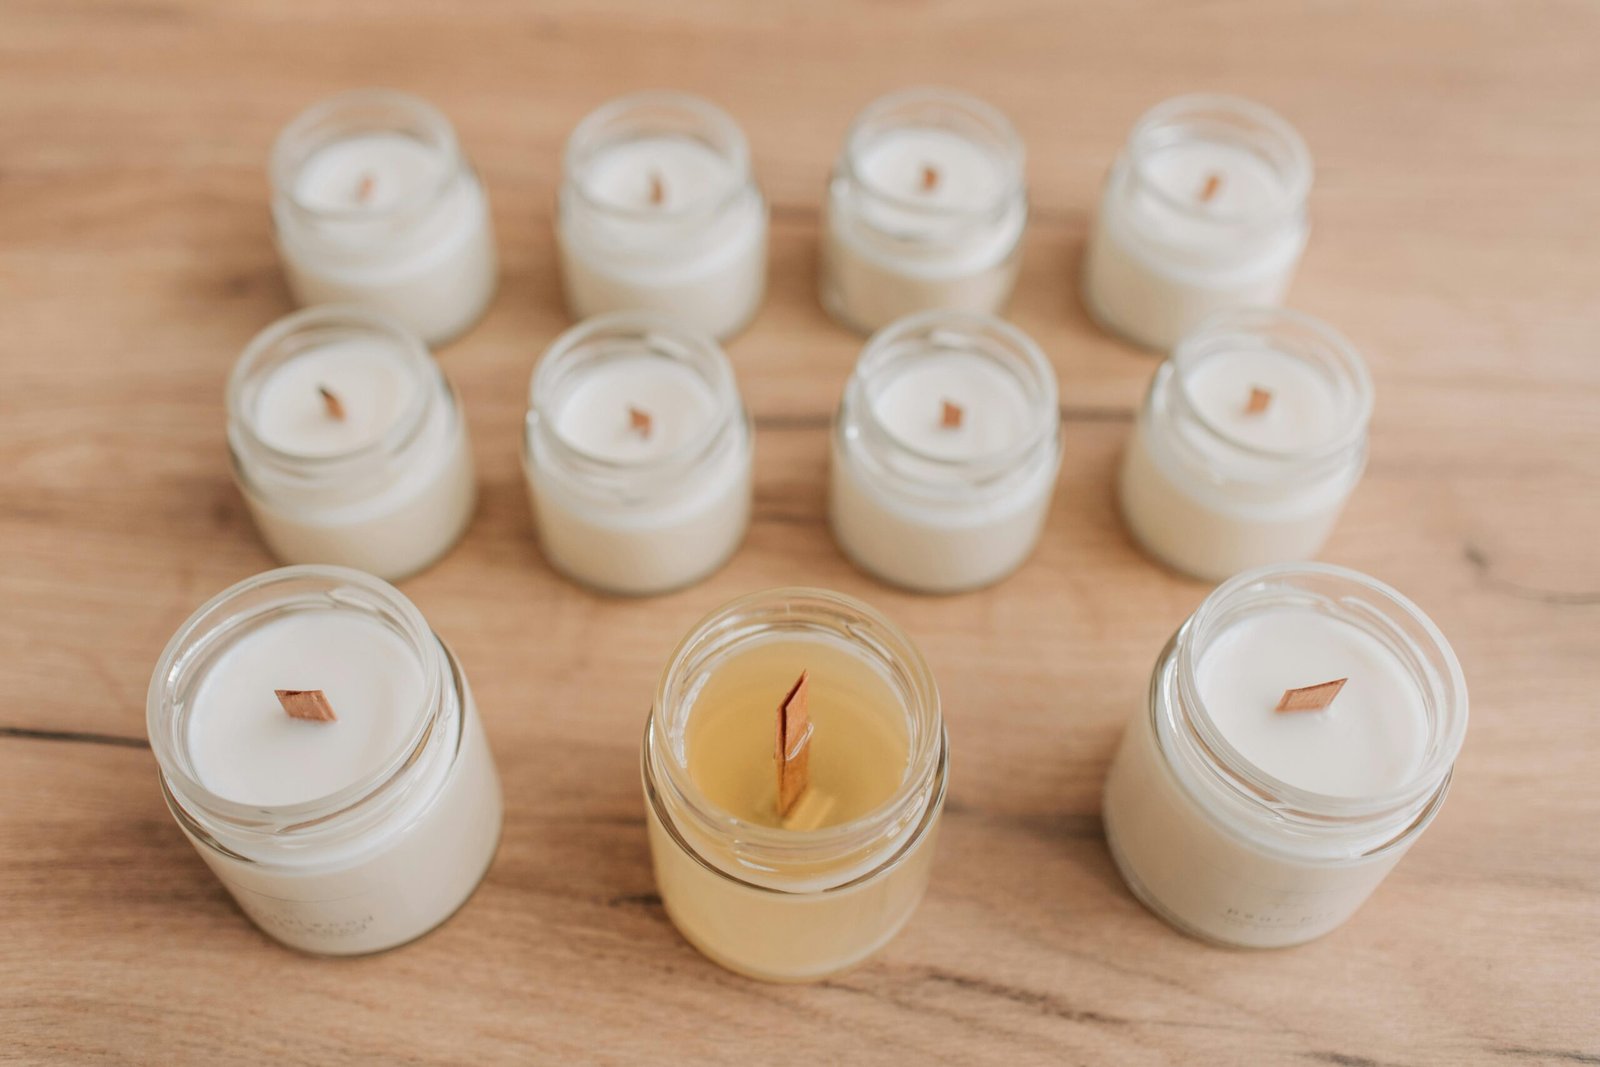
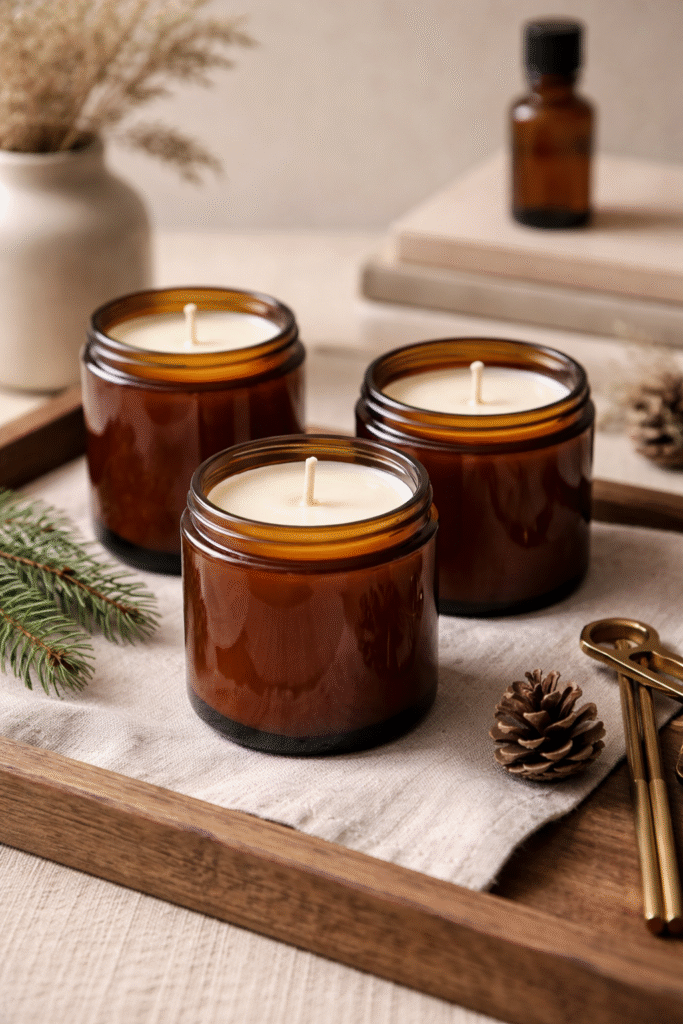
Amber glass jars, simple ceramic or stoneware vessels, cotton or wood wicks, and soft winter scents like vanilla, cedarwood, pine, or amber. These candles should feel at home on a coffee table, bathroom shelf, or nightstand, whether they’re lit or not.
Supplies You Need to Make Candles at Home
For winter candles DIY, keeping the supply list simple makes the process easier and more repeatable. These are the essentials I recommend for making DIY winter candles at home, plus a few optional items if you plan to gift them.
You can shop the exact supplies below, or use this list as a guide and substitute items you already have.
Candle Making Essentials
- Soy wax flakes for candle making
- Cotton candle wicks or wood candle wicks
- Wick stickers or hot glue dots for candle wicks
- Heat-safe candle vessels like amber glass jars or white ceramic candle jars
- Candle fragrance oils in winter scents such as vanilla, cedarwood, pine, or amber
Tools
These are practical, one-time purchases that are worth having on hand.
- Candle pouring pitcher (heat-safe)
- Candle making thermometer
- Wooden skewers or pencils for centering wicks
- Metal wick holders to keep wicks centered while the wax cools
- Electric hot plate or stovetop for melting wax
- Medium-sized pot for a double boiler setup
- Digital scale to weigh wax
Optional Finishing Touches for Gifting
Nice to have if you plan to give your candles as gifts.
- Wick trimmer for a clean, even burn
- Kraft candle labels or blank gift tags
- Linen ribbon or natural twine for wrapping
If you prefer to buy everything at once, a simple soy candle making kit can also be a good starting point.
Step-by-Step: How to Make Winter Candles
How to make winter candles DIY at home:
- Secure a candle wick in the center of a heat-safe jar.
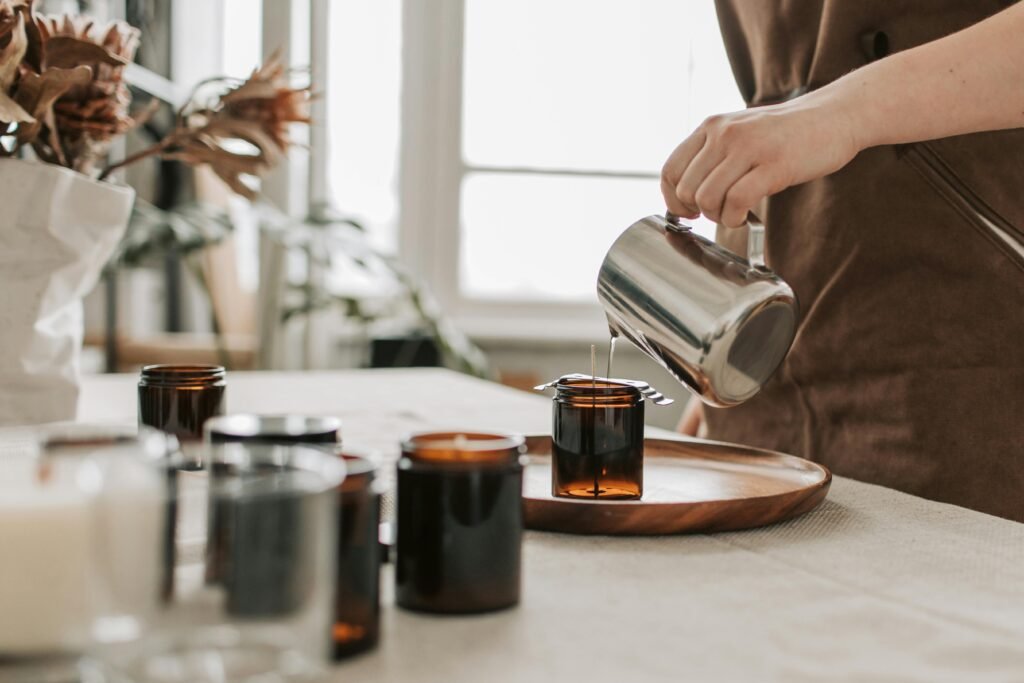
- Melt soy wax using a double boiler until fully liquid.
- Let wax cool slightly, then add winter fragrance oil.
- Stir gently and pour wax into prepared containers.
- Allow candles to cool completely at room temperature.
- Trim the wick and let candles cure for best scent throw.
This winter candles DIY process is intentionally simple and easy to follow, whether you’re making candles for the first time or returning to it as a winter ritual.
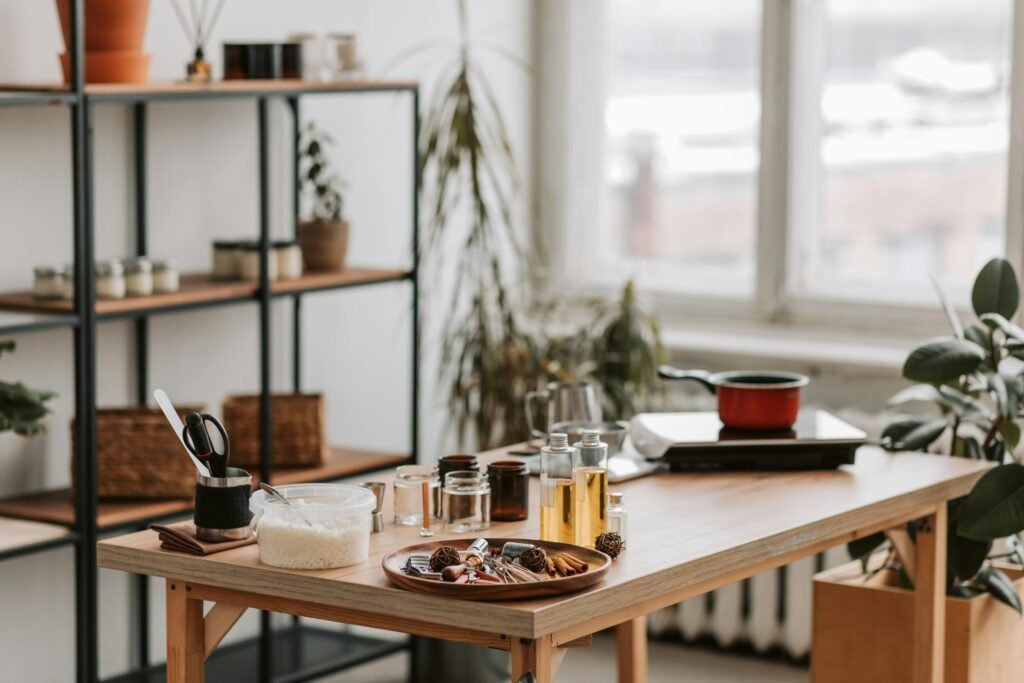
Step 1: Prepare your workspace
Before you start, set up a clean, flat workspace with all your supplies within reach. Candle making can get a little messy, so lining your surface with parchment paper is an easy way to protect countertops and make cleanup quick and stress-free.
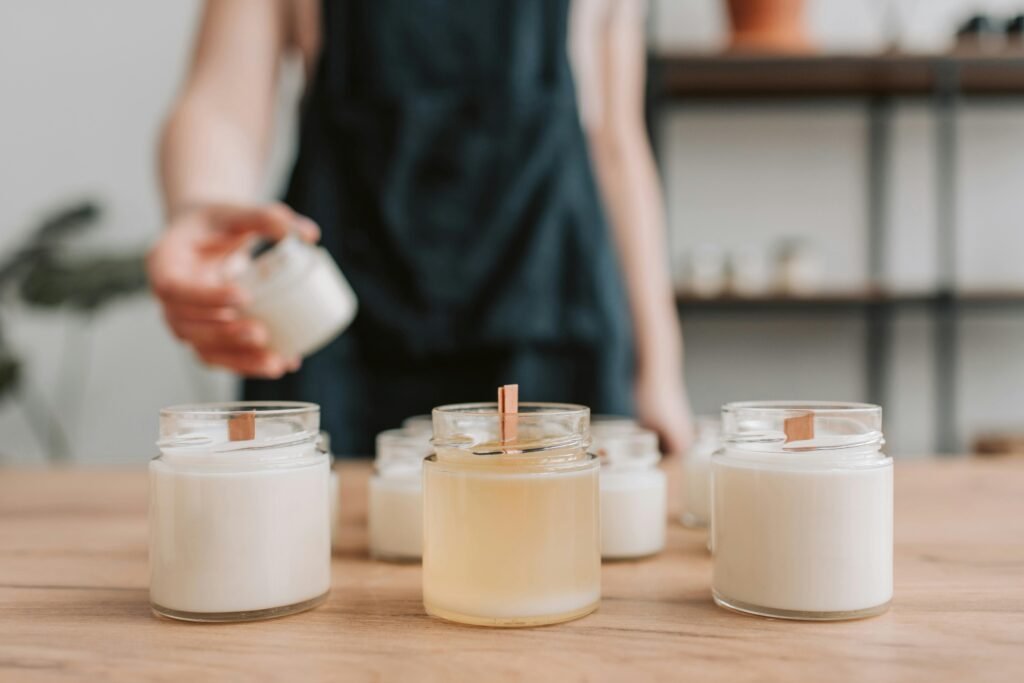
Step 2: Prepare your candle vessels
Make sure each jar or ceramic vessel is clean and completely dry. Attach the wick to the center of each container using a wick sticker or a small dot of hot glue. Use a wooden skewer, pencil, or metal wick holder across the top of the jar to keep the wick upright and centered.
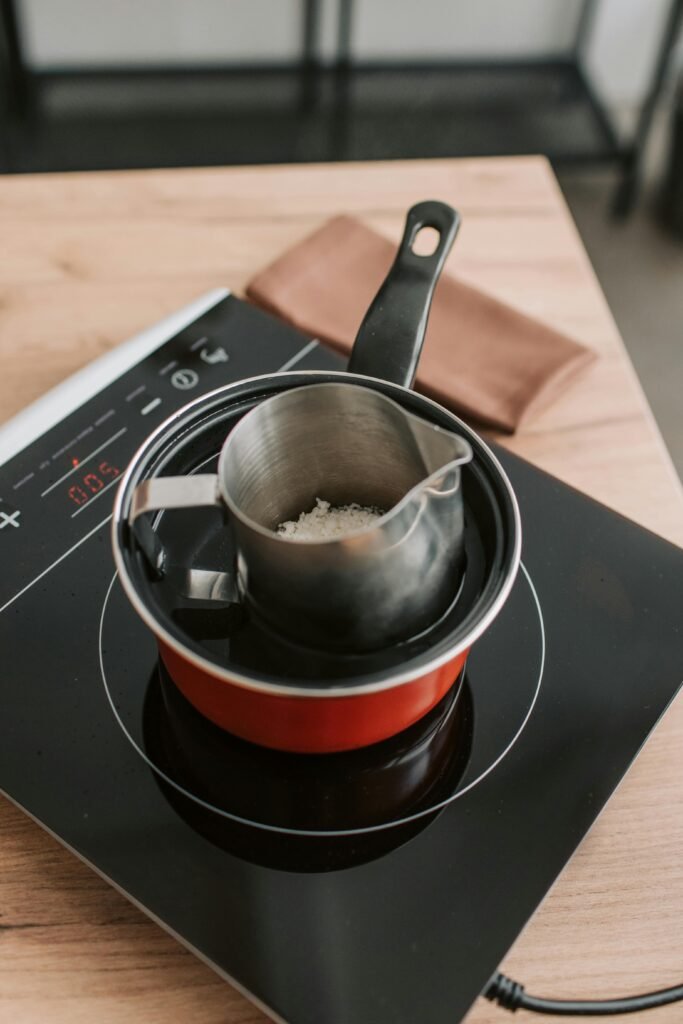
Step 3: Melt the soy wax
Set up a double boiler using a medium-sized pot and your pouring pitcher. Add the soy wax flakes to the pitcher and heat slowly, stirring occasionally, until fully melted. The wax should reach about 170 to 180 degrees Fahrenheit.
Step 4: Add fragrance oil
Remove the melted wax from heat and let it cool slightly. When the temperature drops to around 160 degrees, add your fragrance oil. A good starting point is about one ounce of fragrance per pound of wax, adjusting slightly based on how subtle you want the scent.
Step 5: Stir and pour
Stir the wax gently for about 20 seconds to fully incorporate the fragrance. Carefully pour the wax into your prepared vessels, leaving a small amount of space at the top.
Step 6: Let the candles cool and set
Allow the candles to cool at room temperature without moving them. This helps prevent cracking or uneven surfaces as the wax sets.
Step 7: Trim the wick and cure
After about 24 hours, trim the wick to roughly a quarter inch. The candles can be used right away, but allowing them to cure for a few days will deepen the scent and improve burn quality.
Simple Troubleshooting Tips for DIY Candles
If this is your first time making candles, a few small things can come up. These quick fixes will help keep everything looking clean and intentional.
If the wax surface looks uneven or has small cracks
This usually happens if the wax cools too quickly. Let your candles set at room temperature away from drafts. Minor imperfections can often be smoothed by gently warming the surface with a hair dryer.
If the wick shifts while the wax is cooling
Metal wick holders or a skewer laid across the top of the jar help keep the wick centered as the wax sets. Make sure the wick is secure before pouring.
If the scent feels too light
Candles often smell stronger after a short cure time. Let them sit for a few days before judging the scent strength. You can also slightly increase fragrance oil next time if needed.
If the candle tunnels when burning
Trim the wick to about a quarter inch before lighting, and allow the candle to burn long enough on the first use for the melted wax to reach the edges of the container.
How to Style Homemade Winter Candles in Your Home
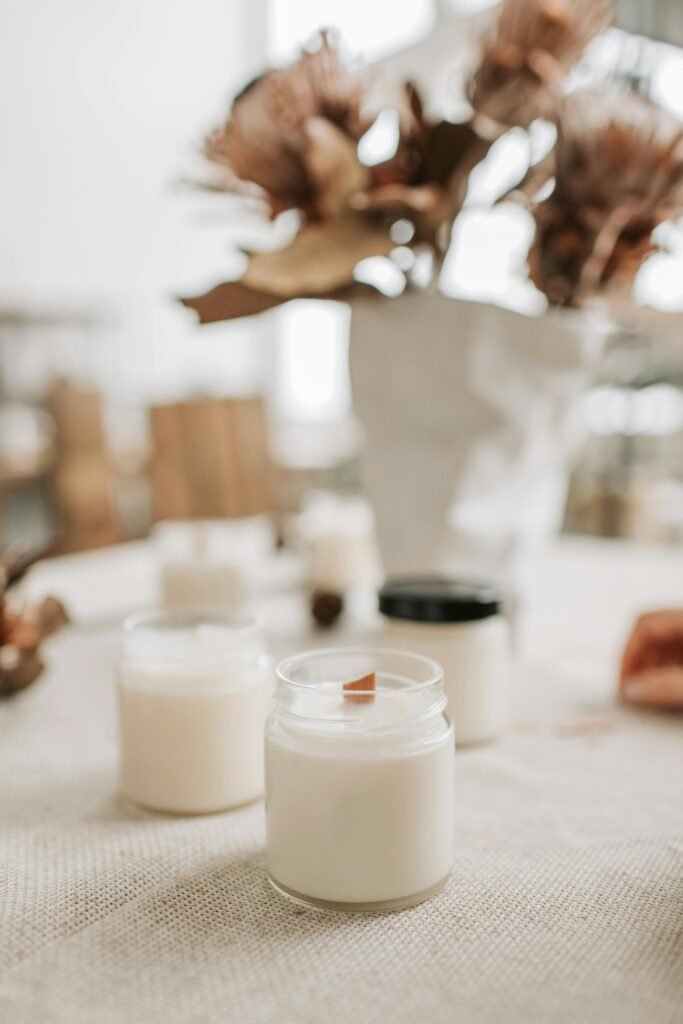
These candles are meant to be part of your everyday space.
Style them on a tray with a small stack of books, place one on a bathroom shelf for evening light, or add a pair to a bedside table. They also work beautifully on open shelving when kept simple and uncluttered. Homemade candles for winter decor add warmth without adding clutter, which is why they work so well on shelves, trays, and everyday surfaces.
DIY Winter Candles as Gifts and Cozy Hostess Ideas
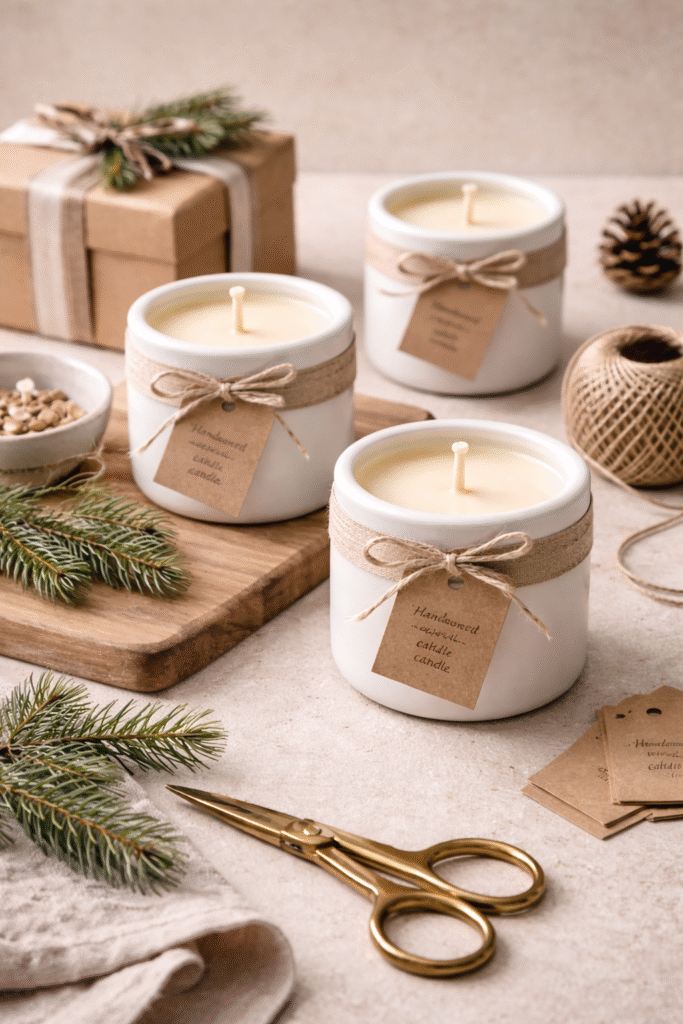
Making candles as gifts doesn’t have to feel overly crafty or precious. The key is keeping everything simple and neutral so the candle feels like something you’d happily buy for yourself.
Stick with clean jars, soft winter scents, and minimal finishing touches. A small handwritten tag, linen ribbon, or even just a kraft label is more than enough. These are perfect as hostess gifts, winter thank-yous, or something thoughtful to bring along to a dinner or weekend visit.
They also work especially well if you make a few extras while you’re already set up. Candle making tends to snowball in the best way. One batch turns into two, and suddenly you’re ahead on gifts for the season.
Candle + Wine Night: A Cozy Way to Make DIY Winter Candles With Friends
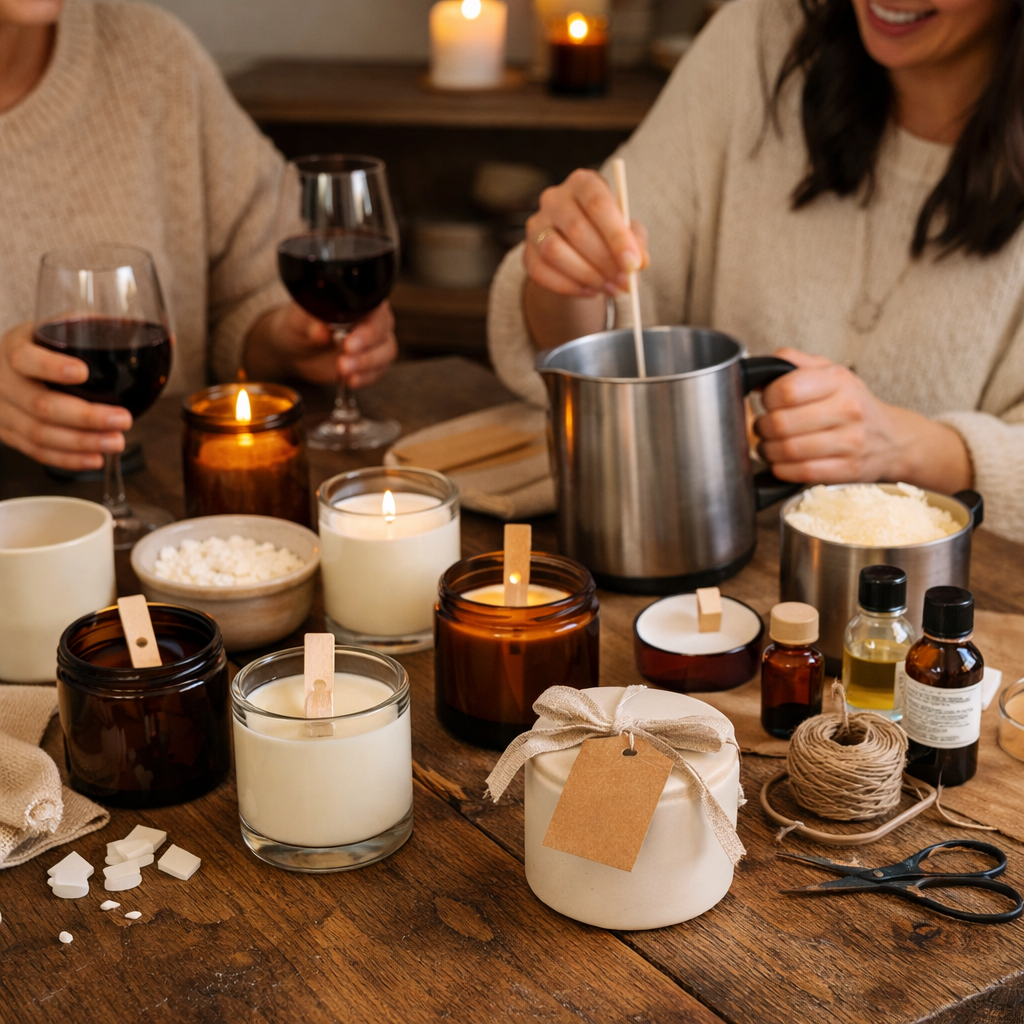
This project is even better with friends. Set out the supplies, pour a glass of wine, put on a cozy playlist, and let the evening unfold. Everyone chooses their own scent and vessel, and you all leave with a candle you’ll actually burn. It’s low effort, cozy, and a genuinely nice alternative to a typical night out. Winter candles DIY becomes a relaxed, shared ritual that feels thoughtful without feeling overdone.
Choose clean, neutral vessels and timeless scents. Add a simple label or tie a small tag with linen ribbon or twine. These make thoughtful hostess gifts, winter thank-yous, or quiet little presents that feel personal without being overdone.
A Simple Winter Ritual Worth Keeping
This is the kind of project that fits naturally into winter. It doesn’t rush you. It doesn’t require perfection. It’s just a small way to bring warmth, light, and intention into your home.
Once you’ve made your first batch, it’s easy to return to this winter candles DIY ritual again and again throughout the season.e same calm rhythm.